As I learn and investigate topics surrounding the world of data and technology, I found that many of the documents and notes that I was taking where becoming a lost file in my repositories. I needed a way of keeping all that information displayed and ready to be consumed by me or any other that might find it useful.
I started by first sharing notes and GitHub repositories with my close friends but that wasn’t enough, it was limited to a case of mutual interest so many of the topics that I was investigating on my own were still left aside.
So a blog seemed like the best option for someone like me who likes and needs to have the information and knowledge that learns in an organized and ready to use manner. The goal would be simple:
Domain Registration
The first thing that comes to mind is the name. How is my blog going to be called? Me personally, I just simply grabbed the name that I use in my gaming platforms. So now that I have the idea, you have to check that the domain is available and get it.
As I want to become a AWS-Cloud Practitioner, I decided that i would try to use as many of their services as I could. First you would have to create a AWS account, there are plenty of tutorials around showing how to do it so I won’t go into detail.
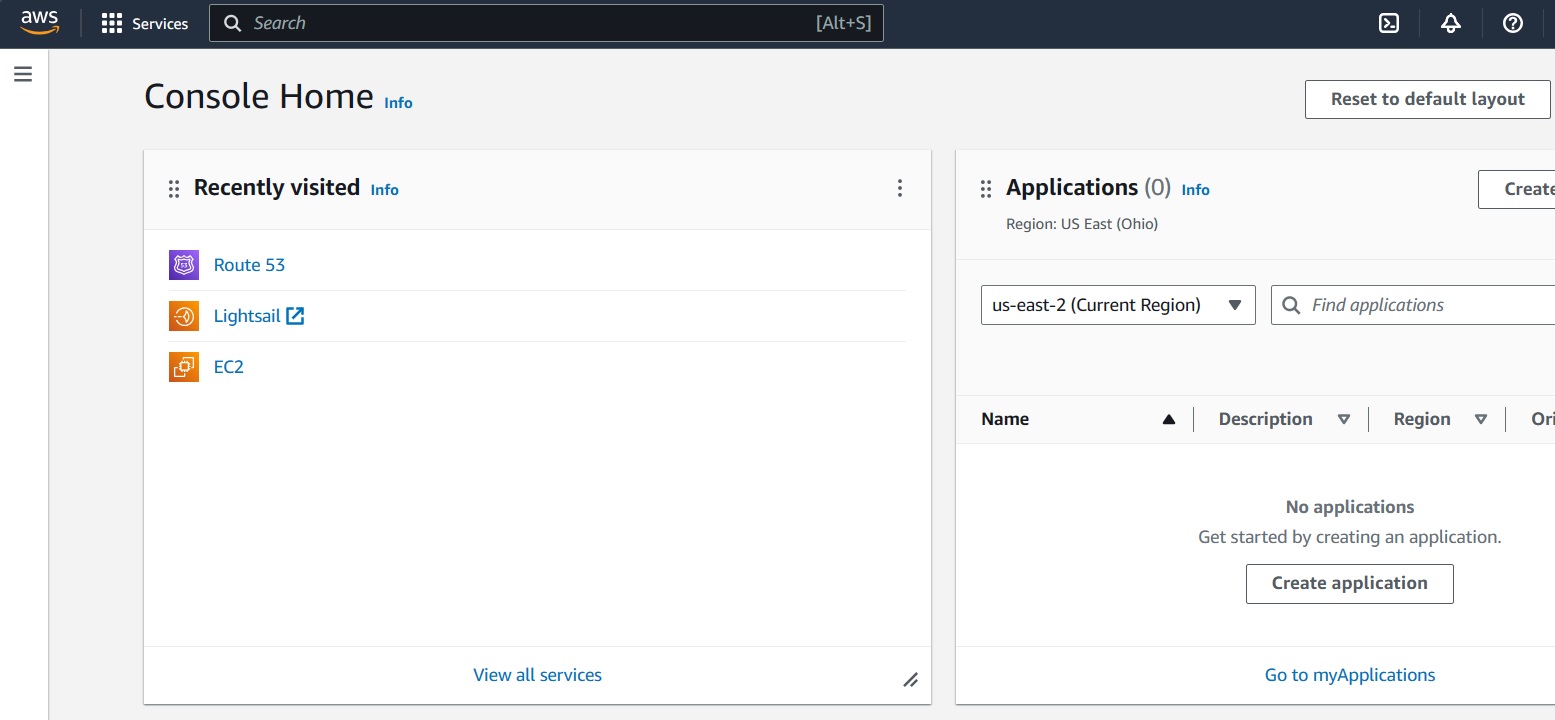
Once my account was created, I explored the services and decided to use Route 53 to register my domain.
Amazon Route 53 is a highly scalable and reliable Domain Name System (DNS) web service offered by Amazon Web Services (AWS). As a fundamental component of the internet infrastructure, Route 53 enables businesses and developers to route end users to internet applications by translating human-readable domain names (such as thatsenuaguy.com) into numerical IP addresses that computers use to connect to each other.

Route 53 serves as a critical link between end users and your AWS resources, allowing you to seamlessly manage domain registration, DNS routing, and health monitoring for your web applications and services. With features such as flexible routing policies, traffic management, and health checks, Route 53 empowers organizations to optimize performance, enhance reliability, and achieve high availability for their online assets.
Whether you’re launching a new website, migrating existing domains, or implementing complex routing configurations, Route 53 provides the tools and infrastructure necessary to efficiently manage your domain names and ensure seamless connectivity for your users around the globe.
Don’t get overwhelmed with how many things are being displayed in the dashboard. Most of them you will understand what they are during the process…
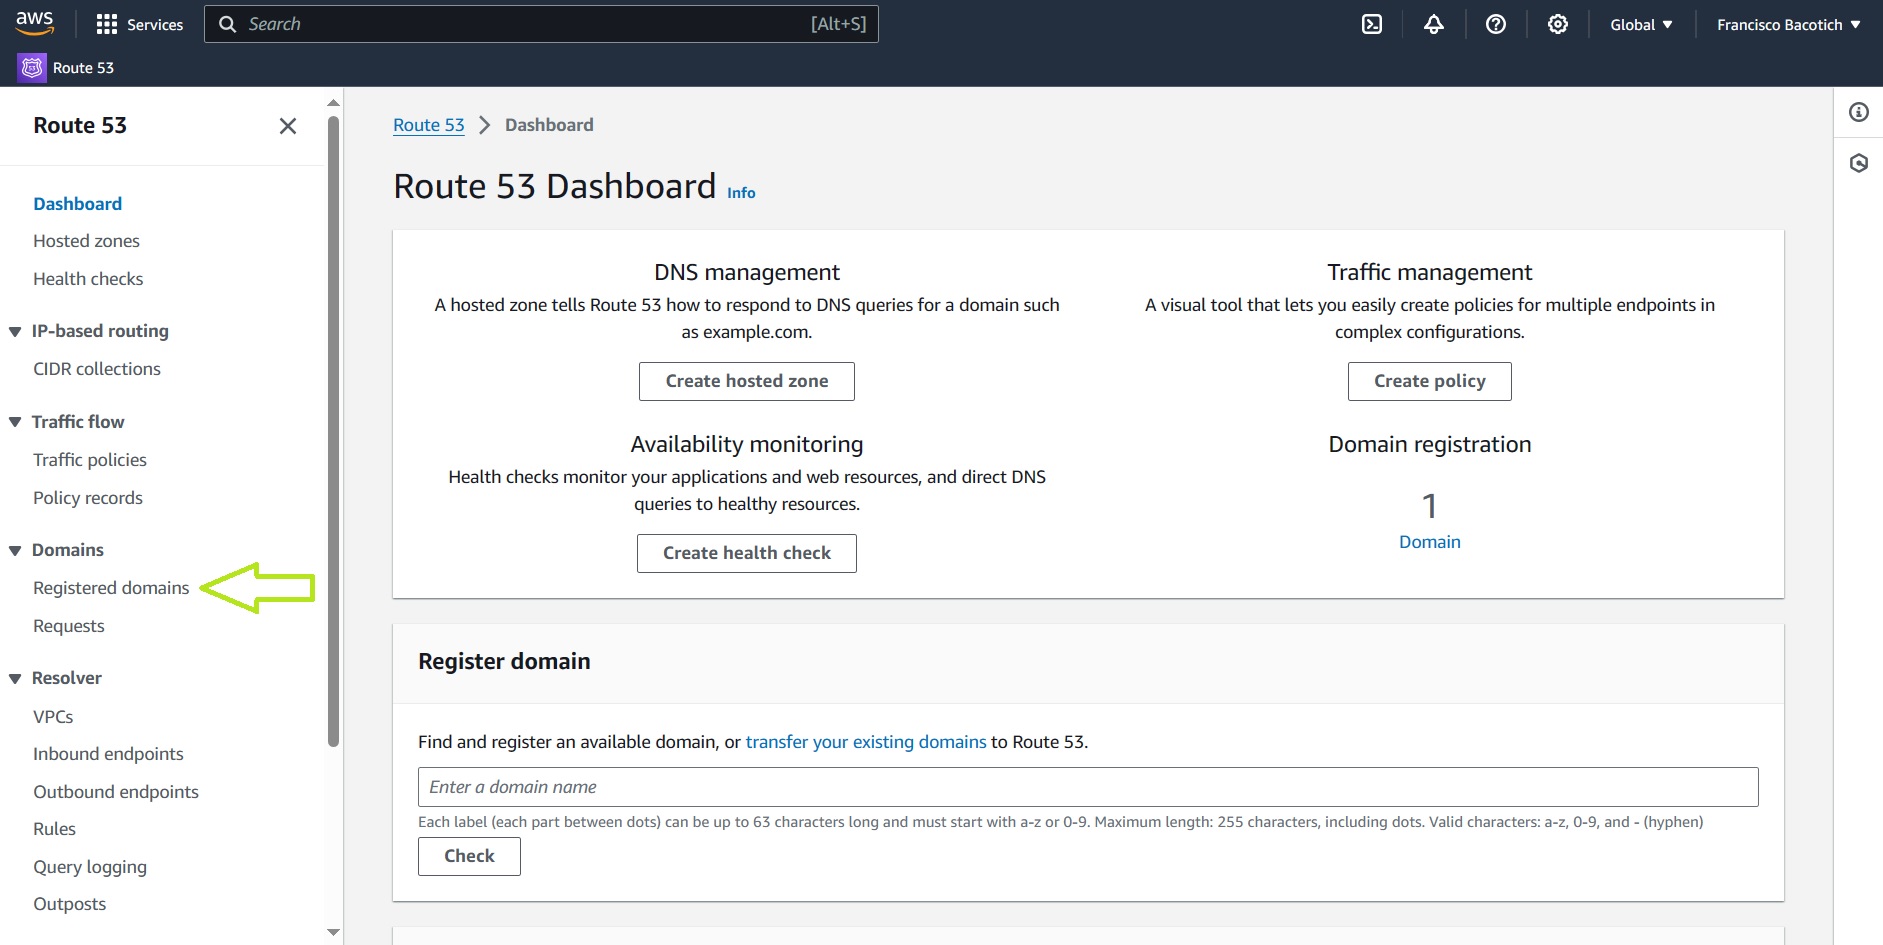
Go to the left sidebar, to the domains sections and go in to Registered Domains. This will take you to a new page where you can start the registration process.
After going into the Register domain tab, you will have to check the availability for the domain you want to register, then select the package that suits you best. In my case the $13 per year package was more than enough, but here are other options if you want to get some discounts by buying longer terms.
LightSail Setup
Following the same principles as with discovering Route 53, I found LightSail, a service that offers a really simple and straightforward setup of a WordPress blog. So, what is LightSail?
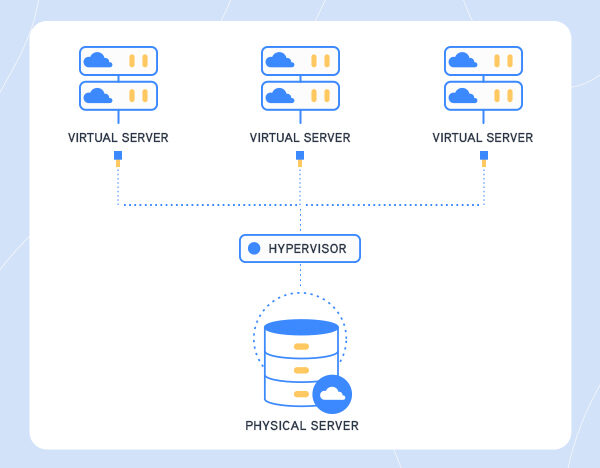
Amazon LightSail is a user-friendly and cost-effective cloud computing service, designed to simplify the process of launching and managing virtual private servers (VPS) and other cloud-based resources. Aimed at developers, small businesses, and individuals seeking an accessible yet powerful cloud solution, LightSail offers pre-configured virtual machines with a straightforward management interface, allowing users to quickly deploy applications, websites, and development environments with ease.

With Lightsail, users can choose from a variety of pre-packaged server configurations, including compute instances, storage, and networking options, all bundled together into simple and predictable pricing plans. This eliminates the complexity often associated with traditional cloud services, making it easy for users to launch virtual servers within minutes and scale resources up or down as needed.
LightSail’s intuitive management console provides a range of features for monitoring, managing, and securing your virtual servers, including easy access to instance metrics, automated backups, and integrated firewall settings. Additionally, Lightsail integrates seamlessly with other AWS services, enabling users to leverage additional capabilities such as content delivery, database management, and load balancing for their applications.
Whether you’re a seasoned developer looking for a hassle-free cloud solution or a newcomer seeking a simple and affordable way to get started with cloud computing, Amazon LightSail offers a compelling platform for launching and managing your projects in the cloud.

Now lets go through the steps in LightSail. When you create your first instance several options will be given to you. Pay attention to the descriptions of the several options but in general regular users should have a pretty easy experience as the platform is user friendly.
Verifying location, selecting platform and a blueprint. In my case I used Windows and the WordPress blueprint. A blueprint is a foundational framework for creating an instance quickly. It is pre-configured with software, operating systems and other components that are necessary to expedite the setup process for your VPS, databases, etc.
So, remember that when you choose a blueprint you are essentially selecting a starting point for your virtual server instance.
P.D: be mindful of setting automatic snapshots as they might come with an additional cost, and anyways you can set it up later.
Pay attention to the IP address that is shown when your instance is first created. If you try hitting that IP in your web browser, you will see that is the public IP for your instance. You did it!
Afterwards we will connect that public IP to our domain name we registered in Route 53.
As a standard, when you add ” /wp-admin ” at the end of your IP address that will take you to the login for the WordPress editing software.
What is my username? Or my password?
By default, those credentials are created inside our instance repository and need to be accessed via console. If you click on the button on the left side of the 3 dots (settings/options) button that is on the instance display, that will SSH into our WordPress instance so that we can get our credentials in order to access our instance.
Once in the machine, we will type in: cat “$HOME/bitnami_application_password”. This is accessing the default file location where your password for the instance is located.
Now using “user” as username and your password you will get into your WordPress website. From here is a matter of having fun, look at some YouTube videos and put some style to your site.
Don’t forget changing your credentials as a good practice first thing as soon as you are able to login in your website.
To add an alarm in the Lightsail console, browse to the Metrics tab of your instance, database, load balancer, or CDN distribution. You then choose the metric you want to monitor and choose Add alarm. You can add two alarms per metric.
You will identify the desired threshold, a comparison operator (greater than or equal to, etc.). After this you might want to specify how many times this threshold has to be crossed to become an alarm state, if there is a random spike you might not want to get a notification for it.
Then finally select how you want the alarm notification to get to you and that is it.
As we previously said, the IP address of our instance is being hosted in a computer, meaning that such computer can have a malfunction and fail to host your site. In those scenarios our IP can change to a new computer. Now you can imagine the complications, we would have to wire our domain to the new IP address every time that it changes.
To avoid this, we create a static IP. The goal is to wire our domain name to this static IP and if any changes occur in the public IP, it will not be reflected in the static IP and our users won’t have any issues getting to our site. How does it work?
In Amazon LightSail, a static IP address remains static through assignment and association mechanisms implemented within the platform’s networking infrastructure.
To create it in LightSail you have to go to networking, click on Create Static Ip, select your location, select the instance, set a name and click on create.
Done, you have your static IP ready to be connected to your domain name.
Connecting our domain name to our IP address is going to start first by going into our Route 53 dashboard.
There in the hosted zones section, you will see that there is a hosted zone that was automatically created when you registered your domain. It will have two records and the server’s names where your hosted zone got assigned when created.
By default, this server name will match the ones in your registered domain, but if not, make sure to make them match by carefully changing them. Look for the documentation on how to do so accurately if you don’t feel confident enough as these changes will have to spread on the internet to get applied and if you make a mistake, it will take some time to fix.
If you pay attention, you will see that records created show where people who hit your domain name on the internet are going to be routed to. What we are going to do is add some records for different scenarios.
- Create a new record, use simple routing, define the simple record, for record name don’t put anything as what we want is for people to be able to look for “thatsenuaguy.com” without the need of putting “www.” first. Select IP address or another value depending on the record type as the “Value/Route to traffic to” option. In there, copy your static IP address. The rest configuration can be left as default. It should take some time for the endpoint to work as the DNS needs to be refreshed.
- For the other scenario we mentioned, we will do the same but as Record name instead of blank one we will put ” www”.
There is a guided setup in LightSail that takes care of what we talked about and some other things:
-
A registered domain name, which is used to access your website.
-
A managed DNS configuration, to point internet traffic to your domain.
-
A static IP address, which replaces your instance’s default IPv4 address. A static IP address stays attached to the instance until you detach it.
-
An SSL/TLS certificate that automatically renews 30 days before it expires. An SSL/TLS certificate secures internet traffic for your domain by using HTTPS.
Feel free to use, I have tried myself and works perfectly, just bear in mind that changes take time to spread across internet and LightSail will automatically change some configurations as the server names where your domain is being hosted in order to configure the DNS within the LightSail environments.
Conclusion
At this point I felt that most of the work was done. I had my domain routed to my IP, my site was secured, I had metric alarms got set up to avoid unseen upcharges. But even though it is working, there are a few enhancements to be done still.

Remember...
Everything I have done was my way of approaching the project. Along the way I made sure to read documentation of what I was doing and registering what I knew and what I didn't. Be organized and try as much as you can to look up what you need to do before you follow a tutorial blindly..
Security concerns
It is impossible not to ask yourself, am I completely secured, or I am missing a vulnerability that might mean an issue in the future. In the following days I will be exploring ways of securing inputs and the email or contact forms so that spam or people with bad intentions are not something to worry about.


